Showing posts with label Home Improvement. Show all posts

Ribbon and Wrapping Paper


Check this out!
Do you have a lot of ribbon? This idea is great for organizing ribbon of all sizes, texture and color! I've been looking for a solution to the madness of ribbon and tissue paper.
The best part, it's so easy to make! I found it HERE -33 Shades Of Green! It's nice that you can use a frame that works well with your space.
I hope this is useful for you as well!

Deck The Halls Of Home With Joy


Welcome friends....As many of you know, this blog started out as "just for fun" Christmas inspiration. Happily, it has evolved into a place of friendship, laughter, inspiration, expression of creativity, crafting and more.

Thank you for following along! I have met so many wonderful friends! I hope you all feel welcome here and know your friendship is heartfelt.

Welcome to a favorite room in my home~the Dining Room. Like most families, we spend many special occasions, celebrations and Holiday dinners in this room. I am a mother of six- four are boys! I love having a formal dining room where my boys can see, feel and appreciate a sense of beauty. (A Mom can only try and I do try!).

I've alwys been inspired by the window treatments in the Armstrong Mansion (My Great Great Grandparents home-Francis and Isabel Armstrong.) Today it's a beautiful Bed and Breakfast Inn in Salt Lake City, Utah. A great place to celebrate an Anniversary!
My Dining Room has three large windows in front of the house that face south. When we were celebrating our first Thanksgiving a few years ago in our new home. I wanted our room to feel inviting. I also wanted it to be somewhat formal. I kept thinking of the Armstrong Windows.


I started dressing up the windows in fall colors and fall textures, they are my favorite colors to work with. I was decorating for Fall, but loved the colors so much they have stayed through all seasons.


1. I started with a grapevine swag that I placed horizontally above the shutters. The grapevine is anchored to drapery hooks.

2. I draped fabric (56" wide) 8-9 yards of brown textured fabric weaving in and out of the grapevine.

3. I embellished the brown fabric and grapevine with fall garland beads

4, Next, I Added a twist of ribbon to help secure and hold the garland into place.
I may add sheer or textured fabrics to the sides of the windows for a more formal look.


Enjoy!
I'm joining Creations by Kara!

SEW HAPPY!


"Sew Happy" to be finished! Welcome Back! I have completed the sewing room organization mission. The pantry and mudroom are next! Wish me luck there! You can find the dress forms at TaiPan Trading, Quilted Bear, and Hobby Lobby!

Here is the layout of my sewing room/laundry room. I have a small island in the middle that separates the sewing room and laundry room. I use the island for cutting all my fabrics. My favorite corner of the world.


When I designed my Laundry/Sewing Room-I wanted space for my daughters to sew and create along with me. The counter space works well when it is not covered in fabric! My little daughter loves to sit at the counter and do her Kindergarten homework! She usually has her crayons and all her art supplies sitting on the counter.

I made chairs covers in sewing notions fabric. I made my window treatments to match. This is where my colors started for this room!

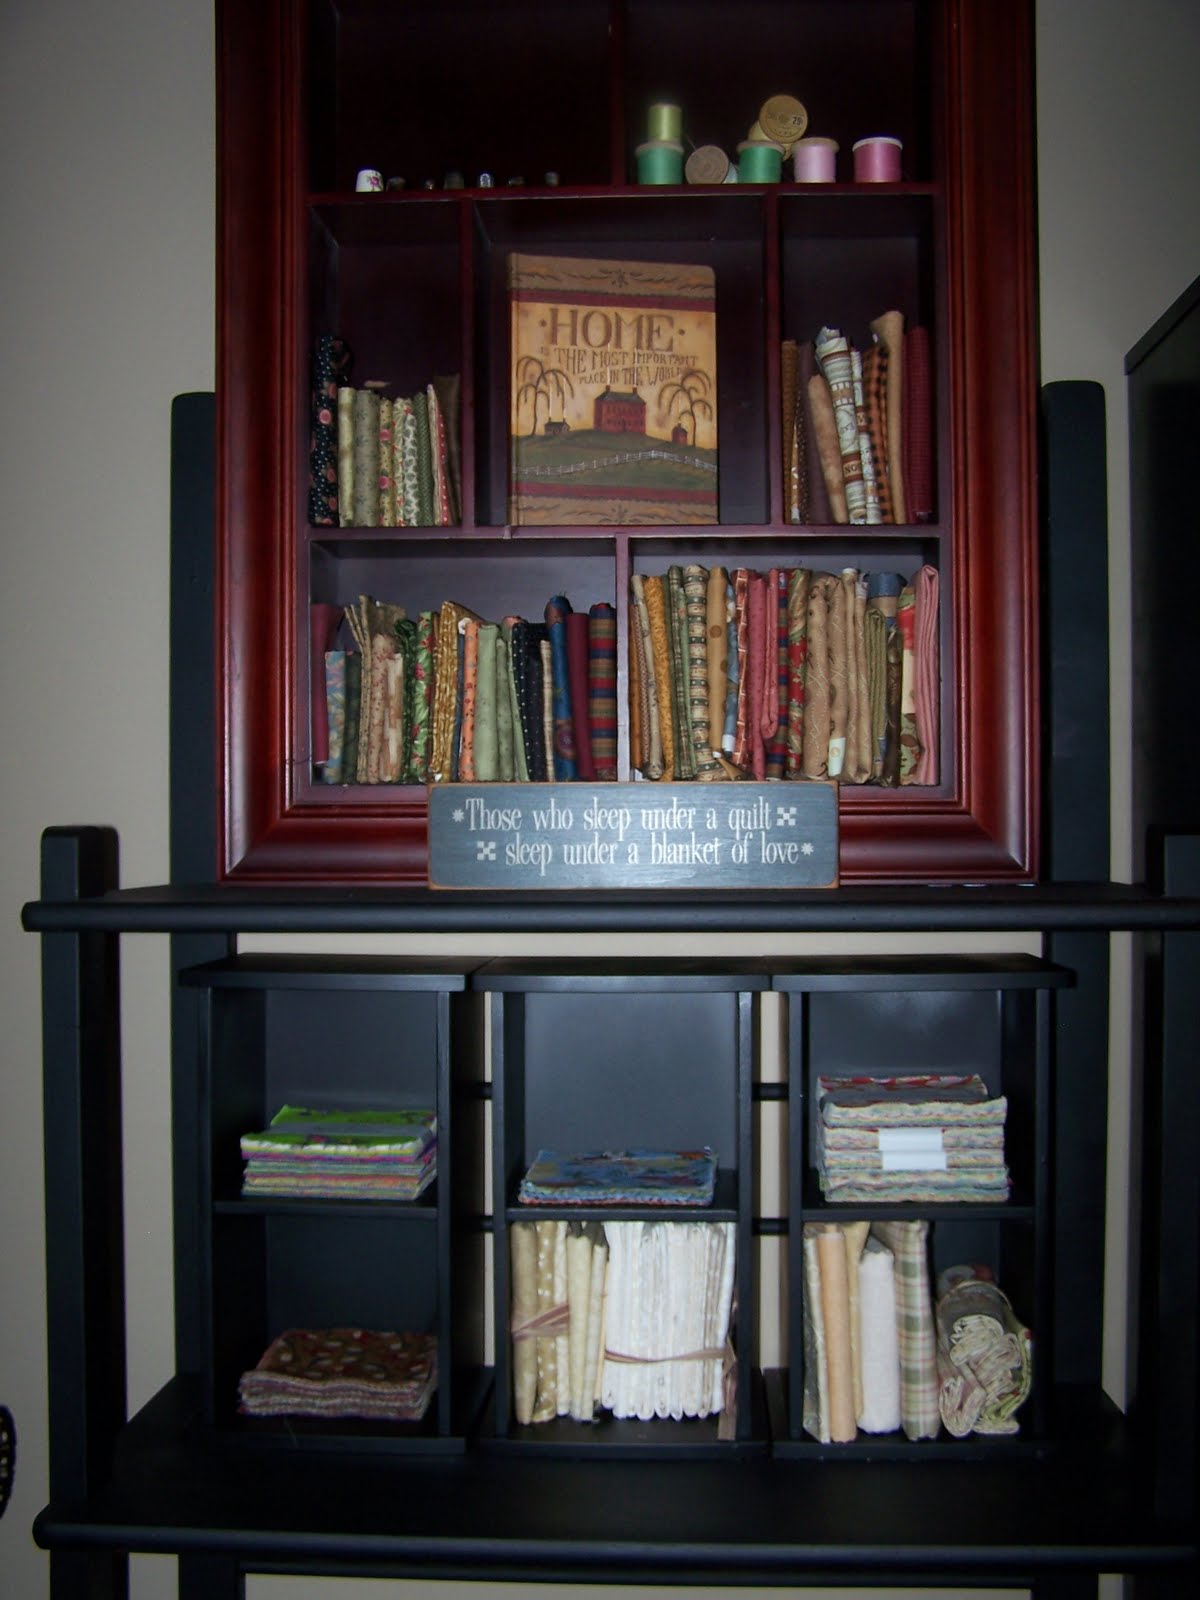
I've added more baskets and containers. I have taken a lot of my scrap book containers that I don't use anymore-thanks to digital scrap booking and simplicity of project life! I painted the containers black and created cubes for fat quarters, charm packs etc. I've taken the drawers and painted the fronts with chalkboard paint for patterns that I use a lot.


I love unique baskets and fabric lined baskets along with crates! The small bottles work well for all the little stuff like snaps, needles, rotary cutter blades, etc. I found the bottles at The Dollar store last week! The Crates are from Mormon Handicraft from my shopping travels a few years ago when it was temporarily located by the Zoo, my other home(ha ha)!


Do you ever feel like organizing is like putting together a 5000 piece puzzle?


I LOVE these baskets, they are simple and practical! They make look familiar. Yes, they are from Walmart. I added Chalkboard Vinyl fabric for the labels. I can easily change the labels for new fabrics! Of course, I needed a little bit of polka dots to add some cuteness! I love that they are off white and simple, I can use them other places.

The top black basket is for new fabrics or for fabrics that need to be put away-Kind of like papers to be filed!


I am still working on the green baskets in the cupboard. The labels are temporary. I want to do chalkboard paint for labeling. The baskets hold accessories like Velcro, elastic, trims, embellishments, and 1000 other little things.

I have two large drawers for storing ribbon in the same green baskets. I have a few baskets for ribbon scraps that I use a lot! The rolls are organized by color, pattern etc.
Enjoy a Creative and Happy day!

Thanks to Tip Junkie, she is sharing Teacher gifts. Today, she is highlighting a few of my Teacher Appreciation gifts-- created right here in my sewing room!

Cheers to Teachers!

Sew--Let's Get Organized!

Welcome To my Sewing Room!

I've taken on new Energy and Top Priority to the madness of my sewing room!
I can actually see the floor and the counter tops! Amazing! My kids say- "It's a miracle!"
I recruited five great helpers(my children) who have been out on Spring Break. My 15 year old son put together shelves for me. I love them, they are working great!

I have sufficient cupboards and storage space. I just needed to re-evaluate the space and the items filling the space. The shelves help to organize my fabrics that I use frequently. I can see colors, shapes, patterns and easily coordinate fabrics! My favorite storage containers are the chalkboard crates. I found them at JoAnn's several months ago. I have taken other containers using chalkboard paint to do the same thing.

My favorite project was organizing all my buttons onto this magnet board. The little metal containers are from Michaels. I glued magnets on the back. I love seeing the colors and shapes readily available at my fingertips!


I'm still not finished. More to come! I found this article on organization. It has helped me!
--------------------------------------------------------
Too much on your to-do list? The key to staying organized is developing good habits that will last for life; but when your lists get unmanageable it's easy to backslide. If you consistently find yourself tackling clutter, it's time to rethink your getting organized system. (Article from Karen Ussery-expert organizer).

What do I need to have a place for?
Does it need to be within arm's reach, or can it be put away?
What supplies will help me stay organized?
How can I label clearly so I remember the organizers' functions?
Is this the easiest way, or is there a simpler way to do the same thing?
Do I like the way my system looks and functions?
How will I remind myself to use my new system until it becomes a habit?

Have A Happy Bright Sunshiny Day!

Chandelier Make Over into a Shade Garden!


Take a chandelier from boring brass to a customized country charmer with a fresh coat of paint and textured shades that mimic handmade paper! A new thick and slow-drying paint product(Paper Perfect) contains paper fibers and can be embedded with fashion yarns and dried pressed flowers. Coat white clip-on shades with Paper Perfect and press no natural trims, then paint your chandelier to match your cottage-garden theme.


Materials: Five white clip-on chandelier shades, Deco Art Paper Perfect in desired color, Palette Knife, Three different kinds of yarns that coordinate with your flowers and paint, scissors, wooden skewer or piece of think dowel and sharpened end, Assorted dried and pressed flowers and leaves, acrylic paints in your choice of colors, two artist brushes, clear-coat sealer.

Tip: Before tackling your shades, experiment with the paint, yarn and flowers on a piece of cardboard.


A. Apply a thick coat of paper paint to the shade with a palette knife. Work on one section at a time until the entire shade is covered. (see photo A) The paper paint should extend just beyond the top and bottom edges of the shade and should be thick enough to accept pieces of yarn and flowers.
B. Select various sizes, colors and styles of yarn and an assortment of flowers and leaves to embed in the wet paper paint. Cut yarn into manageable lengths and work with one type at a time. Lay a length of yarn diagonally from the top to the bottom of the shade embedding it securely in the paper paint at each edge, then trim excess with scissors. Push the yarn into the paper paint, making sure it is securely anchored in the paint but still clearly visible.
C. While the paper paint is still wet, work on one section at a time and apply dried and pressed flowers and leaves in a balanced arrangement. Position pressed flowers and leaves and push the centers down using your finger of the wooden skewer(photo C). For dried flowers insert the flower stems into the paper paint. Cover all of the shade.

Note: The paper paint will take between 12 and 24 hours to dry. Let dry overnight.

Finish painting the Chandelier with desired paints and trims! Apply a coat of clear matte sealer to protect the finish. Let dry. Insert light bulbs and clip the Finished lampshades in place!


giveaways

Inspiration--Come along for the ride!


Come along----jump in! We're off to the Davis County Parade of Homes! This picture cracks me up! Its pretty ture to life for sisters and friends!


In my travels this summer, we saw some pretty amazing homes with beautiful views of the rocky mountains. Here are a few highlights of pictures that inspired me in someway either by Landscaping, paint color, color combinations or decor.
I Hope you feel inspired also!

This was a large chalk board chalk art in a children's room-great for inspiring our children to CREATE, and DREAM BIG!


I loved the glass containers, I know this is not anything new and exciting, but I just lOVE glass containers with a lot of color and interesting objects inside. Its always fun to see what people like to collect and how they display them!

These pictures of shoes were in a mud room where the family leaves their shoes!
I thought that was pretty cool, years from now those pictures will bring back memories of their travels and what they were doing when they wore those shoes!

This was a darling Nursery, sorry- you can't see all the details by this picture! The shelf was so cool! It went completely around the nursery with contemporary decor, a lot of blue and brown!


I loved the rooms that were created especially for sewing and crafts!


We all need our little corner in the world along with a little bit of fabric, a lot of imagination, a pinch of pixie dust, and soon the creativity soars!

The pink in this room was so cheerful and elegant with the black furnishings!


Every little girl can feel special in her own space! I love this room created for sisters! The pictures above the beds are so cute with the red and black!


Our next ride--Quilt Shop Hop!